How to Sell an NFT on OpenSea (Step-by-Step)
You know what NFTs are and you already hold one. Now you want it gone — or at least listed. This walkthrough takes you from “NFT in wallet” to a live listing on OpenSea, one step at a time, using the current interface.
Last reviewed: September 2026
Disclosure: some links in this article may be affiliate or referral links. If you sign up through one we may earn a commission, at no extra cost to you. It doesn’t affect what we recommend — here’s how we make money. OpenSea is mentioned for instruction only; this is not an affiliate link.
A note before we start: OpenSea’s interface, supported chains and fees change regularly. The steps below match OpenSea’s own documentation as of September 2026 — but always read the confirmation screen itself, because that is the source of truth at the moment you list.
What you need before you start#
Three things, all already true for most readers of this guide:
- A wallet that holds the NFT — the wallet you bought or received it in.
- That wallet connected to OpenSea (the same connect flow covered in our OpenSea buying walkthrough).
- A rough idea of what the item is realistically worth — check the collection’s floor price before you pick a number.
If the wallet itself needs sorting first, stop here and go through NFT Wallet Safety & Management instead. Never list from a wallet you believe may be compromised.
Step 1: Find the NFT in your OpenSea profile#
Go to opensea.io and open your profile — every NFT in your connected wallet appears there automatically; nothing has to be “imported”. If you don’t see the item, check the hidden tab: airdropped and random NFTs often land there, which is also a useful junk filter (see I received a random NFT — is it safe?).
OpenSea offers two interfaces — Collector mode (simpler) and Pro mode (denser). The listing options are the same; the buttons differ slightly. This guide uses Collector mode.
Step 2: Start the listing#
There are three equivalent ways in:
- From your profile: hover over the NFT and click List item. To list several items from the same chain at once, use the + icon to select them, then List item(s) in the bottom bar.
- From the item page: open the NFT and switch into Sell mode, then click List for sale.
- From the collection page: switch the collection page into Sell mode and select the items you own.
All three open the same listing panel. You are not committing to anything yet — that only happens at the signature step.
Step 3: Set your price#
The listing panel shows you the data you need before you type a number:
- Floor difference: how your price compares to the collection’s current floor — the single most important number here. Pricing far above floor is how listings sit for months.
- Set price to floor: one-click option to match the cheapest listed item (or the trait floor for a specific trait).
- Adjust for fees: toggling this shows your net proceeds after fees — the number that actually lands in your wallet.
- Listed as: the currency of the listing (usually the chain’s native token — ETH, WETH or similar).
Two fee lines to expect, both displayed before you sign:
- OpenSea platform fee — typically 1% of the sale price, already included in the price shown to buyers.
- Creator earnings — a percentage paid to the NFT’s original creator, paid by you as the seller. Whether it’s enforced or adjustable depends on the collection: if it’s optional, you’ll see the creator’s preferred percentage pre-filled and can adjust it; if it’s enforced, it’s fixed.
If you’re unsure how to read floor, rarity and demand signals, How to Price an NFT to Sell goes deeper before you commit a number.
Step 4: Set a duration — or make it private#
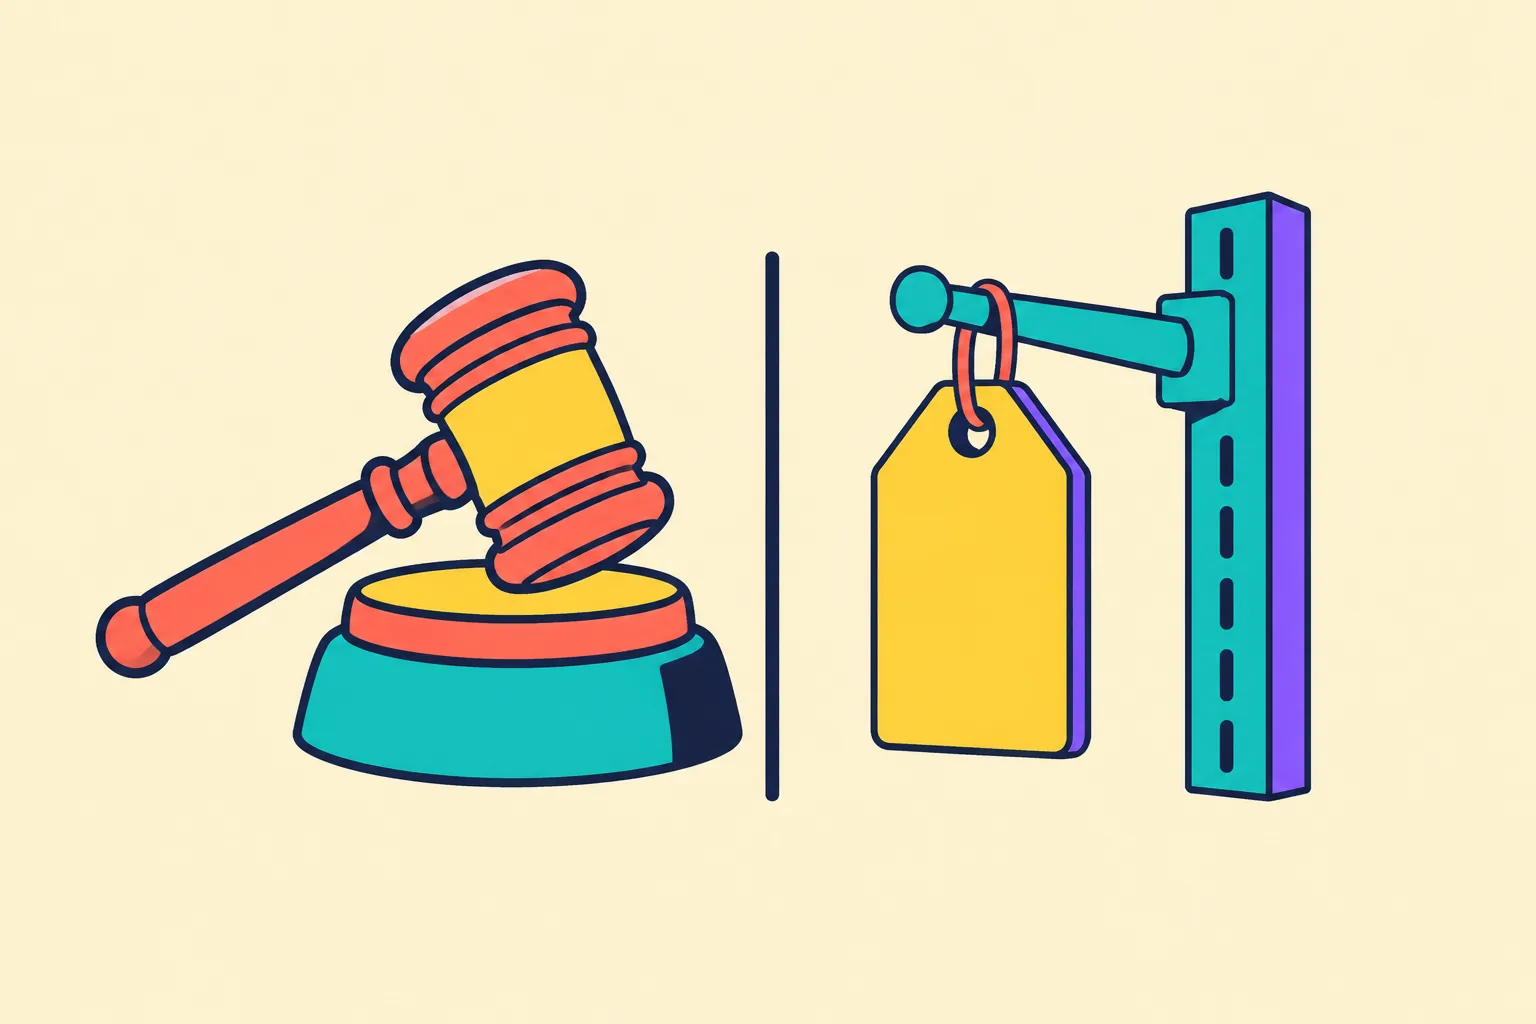
Listings can run anywhere from 15 minutes to 6 months. Longer isn’t automatically better: a listing that sits at a stale price signals desperation. Many sellers list for a few weeks and re-list if it expires.
The Reserve option turns the listing into a private sale — only the wallet address (or ENS name) you enter can buy it. Useful when you’ve already agreed a price with a specific buyer. Private listings typically carry a 0% OpenSea fee at this time.
Step 5: Review and sign — not “pay”#
On Ethereum-style chains (Ethereum, Polygon, Base and the other EVM networks), creating a listing is a signature, not a transaction — it costs nothing and puts nothing on the blockchain. One exception: the very first time you sell from a collection, the wallet may ask you to approve the marketplace contract for that collection’s token. That approval is a real transaction and costs a small gas fee — once per collection, not per item.
Solana works differently: an OpenSea listing on Solana is an on-chain action — the item moves into a marketplace escrow account for the life of the listing, so it may disappear from your wallet app until it sells or you cancel. You’ll also need a little SOL for network fees and the escrow deposit.
Whatever the chain, read the wallet prompt carefully:
- A legitimate listing signature describes an offer to sell your item for your price.
- It should never ask for funds, a seed phrase, or a “verification” transaction. OpenSea will never ask you to send funds in order to sell — that’s the classic phishing play.
- Only ever initiate listings from the OpenSea site you navigated to yourself — not from a link in a DM, Discord message or email.
For the full defence list, see How to Avoid NFT Scams.

Step 6: The listing is live — what happens next#
The item now shows on its collection page at your price, and buyers can either purchase it outright or send you an offer (often below your ask — see NFT Offers vs Listed Price for how to read them).
You’ll find the listing on your profile’s Listings tab, where you can edit the price or cancel it. Cancelling is usually another signature — but note that some older listings require an on-chain cancellation transaction. Details: How to Cancel an NFT Listing.
Accepting an offer instead#
If an item already has an offer, you don’t need to list at all — open the item (or your profile), click Accept offer, and review the proceeds breakdown shown before you confirm. That breakdown lists exactly what leaves the sale: platform fee, creator earnings, and your net. Offers on OpenSea are made by buyers locking funds in advance, so accepting one is a genuine sale, not a promise.
One caution: accepting a very-lowball offer just to exit is rarely the only option. When NOT to Sell an NFT covers the common traps.

Step 7: After it sells — getting to AUD#
The sale proceeds arrive in your wallet in the listing currency (ETH, WETH, POL etc.) — not as AUD. The journey from there is wallet to exchange to bank account, covered step by step in How to Cash Out NFT Proceeds to AUD. Keep the transaction hash — you’ll want it at tax time; NFT Tax Australia explains why.
If something goes wrong#
Listing stuck, transaction failing, or the sale didn’t complete? Why Did My NFT Transaction Fail? walks through the usual causes. If a “buyer” contacts you off-platform claiming there’s an error and asking you to send funds or “verify” anything — it’s phishing, full stop.
Bottom line#
Selling on OpenSea boils down to: find the item, click List, set a defensible price, choose a duration, sign. The signature costs nothing — the commitment only becomes real when a buyer takes your price. Price off the floor, read the fee breakdown before signing, and never let an off-platform “buyer” talk you into a transaction.
This guide is educational and assumes general conditions — it isn’t financial advice, and NFT prices and platform fees change. Check OpenSea’s own fee page before relying on the numbers above.
Affiliate Disclosure#
Some links on NFTUniverse are affiliate or referral links — marked where they appear. OpenSea links in this guide are instructional only and are not affiliate links. Full details: Affiliate Disclosure.
Turning your sale proceeds back into AUD#
A completed sale pays you in crypto, not dollars. Converting that balance back to AUD means withdrawing through an exchange that supports Australian users — these are the same exchanges referenced elsewhere in this guide.
These are affiliate links. We may earn a commission at no extra cost to you — how we make money.
Before listing or accepting offers, check the venue itself — our sister site NFTMarketplace.com.au maintains an evidence-based verified OpenSea profile covering its current status, fees and supported chains.
What to read next#
- How to Sell NFTs: A Beginner’s Guide to Listing, Pricing & Exiting Safely
- How to Price an NFT to Sell (Beginner Pricing Strategy Guide)
- How to Time Selling an NFT (Beginner Exit Timing Guide)
- How to Cancel an NFT Listing
- NFT Offers vs Listed Price: What Beginners Should Know
- How to Cash Out NFT Proceeds to AUD (Australia)